 ).
). To transfer a folder and its contents from your desktop or laptop computer to the DNASTAR Cloud, follow the steps below:
1) Within the Cloud Data Drive, open the folder (if any) that will contain the folder you are transferring.
Note: Once a folder has been transferred to the DNASTAR Cloud Data Drive, you cannot move it into a different “containing folder.”
2) Click
the Upload a folder and all its contents to the Cloud tool ().
3) Navigate to the file or folder location and select it.

4) Press OK.
•If the same folder has been uploaded previously to the same location, the following message will appear.
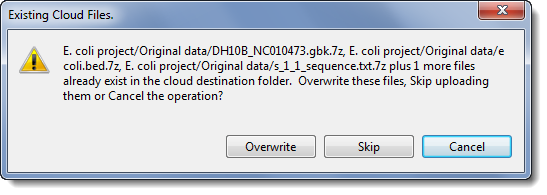
Choose whether to Overwrite the existing folder, Skip uploading the folder or Cancel the entire upload operation. In the case of a folder, the final two options are identical.
•If you have not previously uploaded the folder and its files, or if you have chosen to Overwrite existing files, the files within the selected folder will begin uploading in the lower half of the Cloud Data Drive dialog. If the folder was not previously uploaded, the folder will be created in the upper half of the Cloud Data Drive dialog and the files placed within.
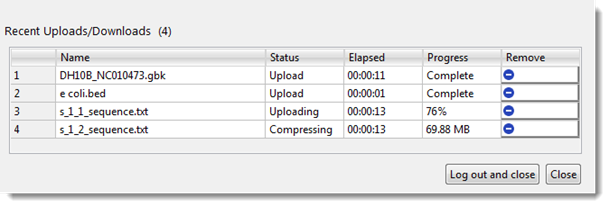
At the completion of the upload, the folder will be displayed in the upper table of the dialog. Double-clicking on the folder name will reveal the folder contents.