
The Golden Gate Cloning (GGC) method is described in detail in this topic. Golden Gate is unusual in that it uses exactly one enzyme to cut all the parts. This tutorial demonstrates this workflow using three inserts and the typical cut site for GGC, BsaI.
If using the tutorial data, these steps should work without any issues. If you later follow the procedure using your own data and encounter issues with GGC compatibility, see Troubleshoot Golden Gate cloning issues.
Golden Gate Cloning tutorial:
- If you have not yet download and extracted the tutorial data, click here to download it. Then decompress (unzip) the file archive using the method of your choice.
- Choose Cloning > Golden Gate Cloning.
- To import inserts, first single click on the Inserts folder on the left to select it. Then right-click on it and choose Import. Navigate to the tutorial data folder SeqBuilder Pro Data and use Ctrl/Cmd+click to select the files Aminoglycoside gene.gbk, Bleomycin gene.gbk, and COX2.gbk. Press Open.
- Use Shift+click to select the three inserts, then use the mouse to drag and drop them in the Fragments area in the bottom right portion of the cloning project window.
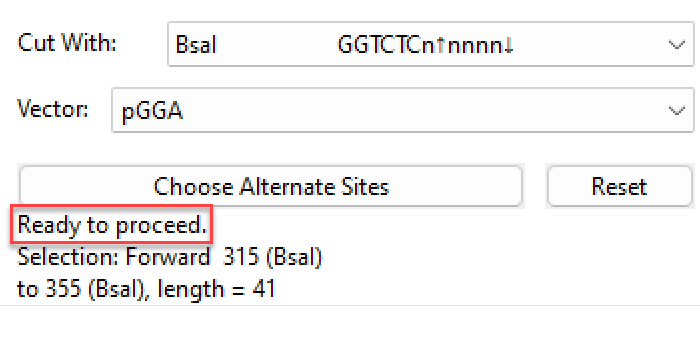
- Leave the Method and Cut With menu selections at their default values of Golden Gate Assembly and BsaI, respectively.
![]()
In the cartoon at the top right of the window, note the prompt to “Choose a vector.”

- Use the Vector menu to select a vector from the Golden Gate folder, which has separate subfolders of NEB and Addgene vectors. Only vectors compatible with the current Cut With selection appear in the Vector list. When using Golden Gate Cloning, compatible vectors are one which have either one Type I enzyme cut site or two closely adjacent Type II enzyme cut sites, of which pGGA is an example. For this tutorial, choose the vector pGGA from the NEB subfolder.
SeqBuilder Pro considers the compatibility of the enzyme, vector and inserts. It looks at the assembly primers and overhang junctions and makes an assessment of the overhang fidelity; essential for success with Golden Gate Cloning. If all selections are compatible, the preview cartoon at the top right shows that the selected vector appears at every vector-insert and insert-insert junction.
In addition, the cloning dialog contains the wording: “Ready to proceed.”
- Click the Try It button at the bottom of the dialog and skim through the Cloning Summary.
![]()

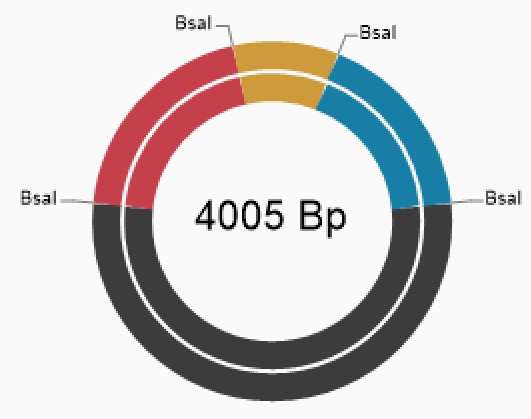
- Providing the summary looks good, click Make It. The finished clone appears in the Circular view.
![]()

Need more help with this?
Contact DNASTAR