Several views in SeqMan Ultra allow you to add data columns to a table, rename the columns, change the order of the columns, or remove existing columns. This is done by clicking the Change options in this view (

Available columns are on the left, while currently-applied columns are on the right. To see definitions for each available column, see Descriptions of data columns.
- To add a column to the display, select its name on the left and press the right arrow key to move it to the right.
- To remove a column from the display, select its name on the right and press the left arrow key to move it to the left.
- To change the order of displayed columns, select the column name you wish to move on the right, then use the up/down arrows to place it in the desired order.
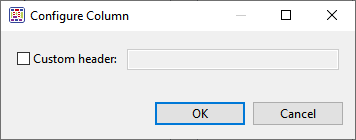
- To create a custom header for a displayed column, select its name on the right, then choose the Configure column tool (
). In the popup dialog, type in the desired name and press OK.

Need more help with this?
Contact DNASTAR


